
Accessibility:
The use of images can be very useful to make your site look attractive, but since the introduction of WCAG (AA) your image should only be used to enhance your content, not replace it.
This is especially important when the image contains more than just a few words or Complex Text which would need formatting for accessibility purposes. Nor will the words be used as part of search results or translated into another language, so you are providing no help to the patient with regard to getting your message to them.
In addition, an image should not be used as a button nor contain a clickable link for the same reasons. You can use images this way when using the Grids Module
How to add an image
- This article is designed to explain how to add an image to your content or page
- If you are working within a Module and wish to apply an image you may need to refer to the relevant articles.
Related articles
Once you have decided where you wish the image to appear, place your cursor at this point and select the Image Tools from the WYSIWYG Editor Toolbar
 |
Image Tools |
You will be presented with this screen
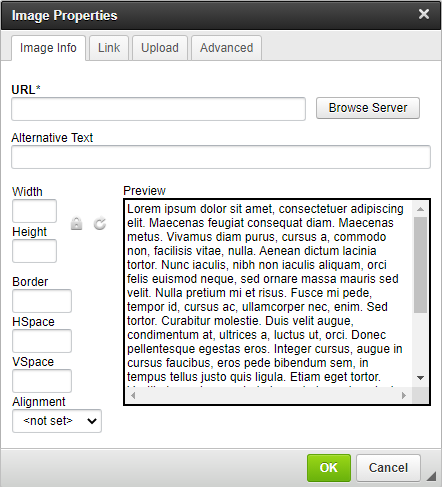
- Click Browse Server and you will be taken to the File Manager where you can select or add your image
- For accessibility you must include a description of the image as the 'Alternative Text'
- Remove the 'Width' and 'Height' Fields so they are blank. This allows the image to re-size to the available space when viewed on different sized devices
- Click OK